
Since we can take pictures without worrying more about the limit imposed by the film, the costs of development and printing, the number of photos and the subjects we photograph have become an infinity. Most of these photos will never be printed but saved in a corner of the computer or in a memory device and often forgotten; we don't even bother to eliminate wrong shots, blurry or poorly framed images. I believe that if we start taking photos again with the idea that they will be printed and placed in an album, the quality of our photos will improve.
The photo album seems to have become obsolete, but it is not. There are still some important events of our life that we want to immortalize and preserve in the concrete, even if perishable, paper world; wedding, baptism, communion, graduation, a trip .... One day we will take our album from the library, we will lie down on the sofa next to the fireplace, we will put a record (vinyl) on the turntable and we will begin to leaf through it and recalling memories of places and people. The tutorial I am about to write is for the creation of a very simple yet elegant album. The Japanese binding technique is ideal for joining loose pages of moderate thickness. The illustrations are taken from the footage of this video, [embed] https://www.youtube.com/watch?v=p2MyX6Erb4Y [/ embed] edited at quite high speed, from my youtube channel. The materials and equipment needed:
- sheets of bristol type cardboard of at least 200-250 g / m2, rough or smooth according to your taste, or rice paper, or hand-made recycled paper (here you can see the tutorial);
- white cardboard for the inside cover;
- rigid cardboard of at least 1 mm;
- cotton or other fabric of your taste (I used Hardanger canvas), ecru color;
- 3 mm satin ribbon for the binding and 5 mm for the bow, white color;
- 4 mm cream or white eyelets (if you can't find them you can use gold or silver ones and color them);
- vinyl glue;
- cream or white glaze (optional);
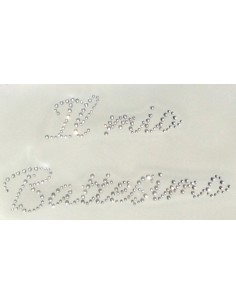
- rhinestone decoration or writing of your choice (in my case: my baptism);
- manual punch for 3 mm paper;
- manual punch for leather, choose the size 4 mm;
- manual eyeleting machine;
- square or ruler;
- pencil;
- cutter cutter or scalpel;
- scissors;
- large brush for glue and small for enamel (the latter optional);
- hot glue gun.

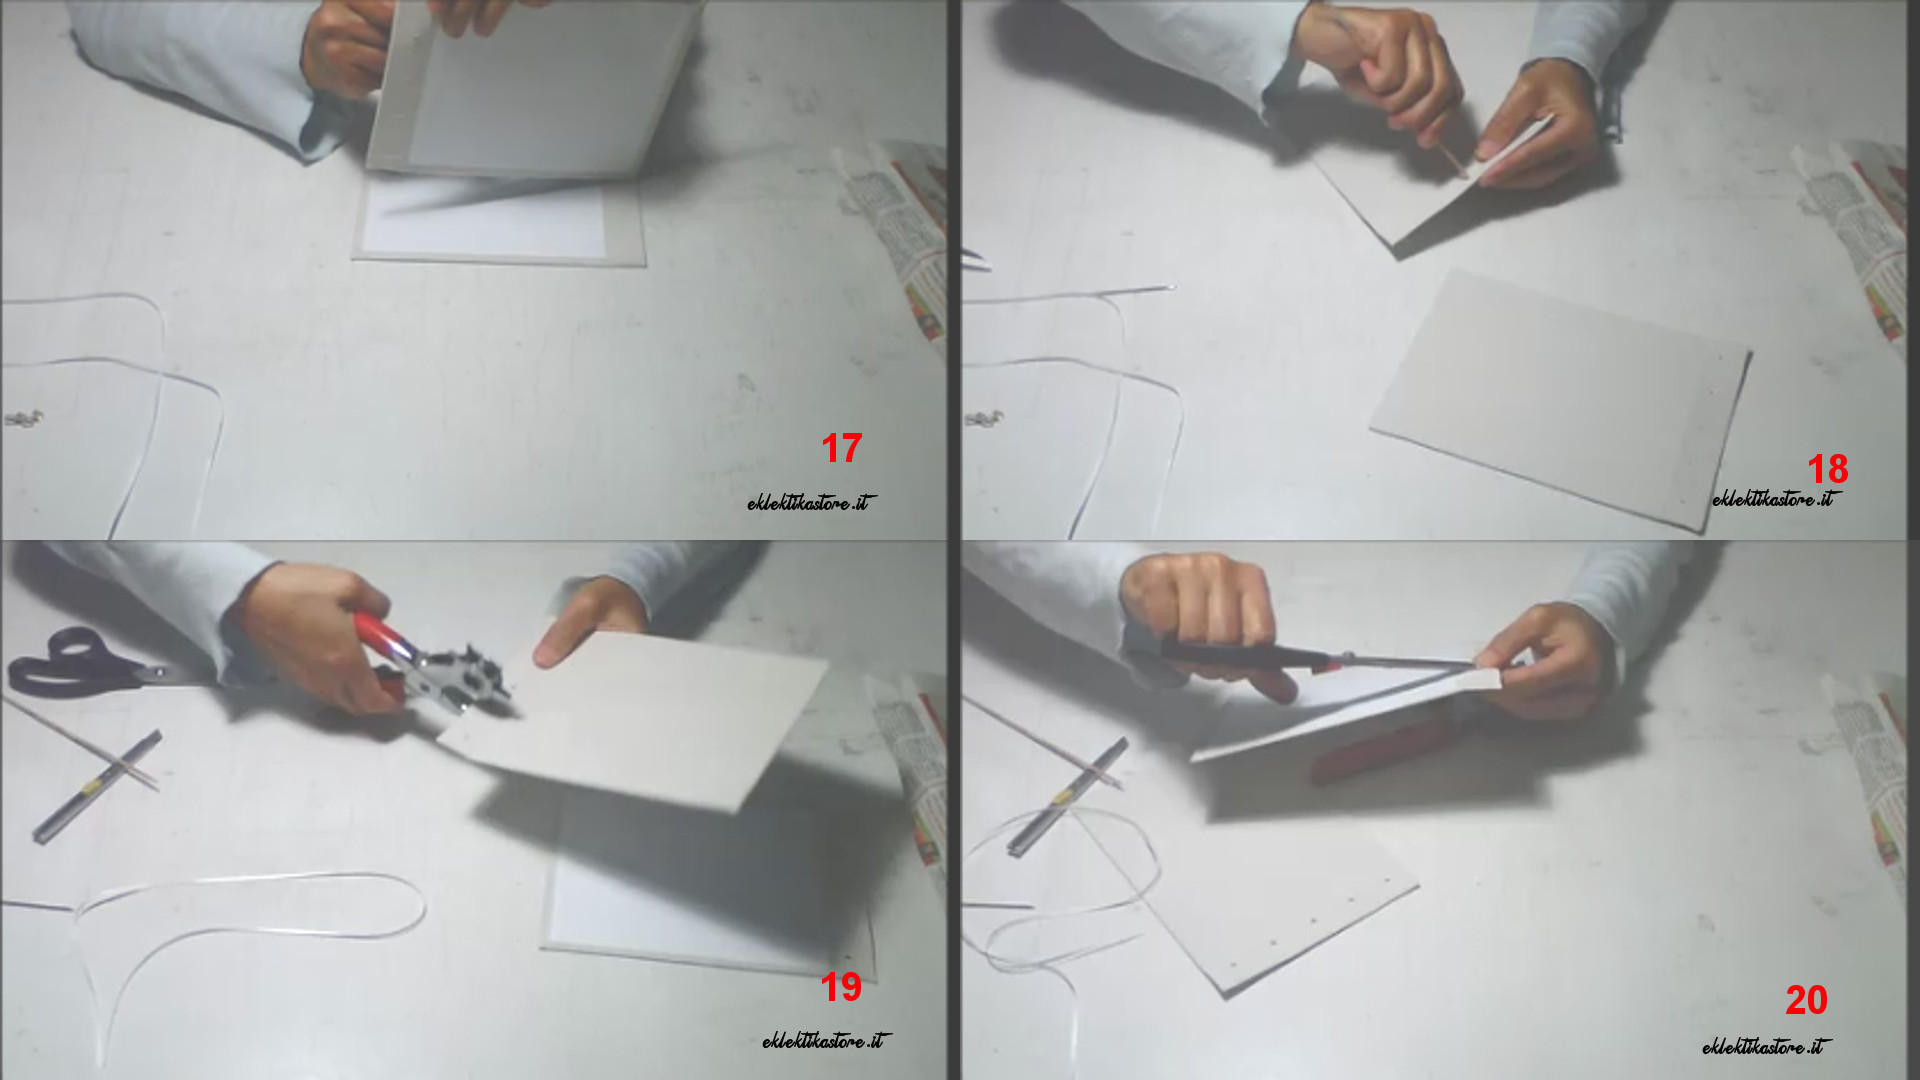
Start by dividing the sheets into small groups of the amount that the hole punch can punch then cut out the card stock for the cover. The measurements will depend on the size of the sheet leaving a margin of a few millimeters or without margin, my total measurements are about 15x21 cm .... it is advisable to leave the margin if you use handmade paper with irregular edges, while the side that will go sewing is preferable without margin. You will need 2 large cards and 2 strips of 2 or 3 cm, between the two parts then you will leave a space of 2-3 mm, this allows the cover to fold in order to flip through the pages. On the strips you will mark some points that you will then drill with the leather die cutter, I made 5 holes at a distance of 3 cm (1.5 cm on the sides) for the simplest type of binding, but you can make more complex bindings and decorative.

Overlap the strip on the sheets and mark the points that will be drilled; after having pierced all the sheets, checking that they are well aligned, start preparing the cover by cutting out pieces of the fabric of the size of the cards plus 1.5-2 cm (from the seam side leave more fabric equal to the width of the strip).

Put the vinyl glue on one side of the cardboard and the strip that you will then attach to the center of the fabric, thus leaving the margins of 1.5 cm on 3 sides, 3 mm between the two parts and 1.5 + strip width on the side to sew. As soon as you have finished the first, put it under weights and start preparing the second.

Once the second is finished, go back to the first and start gluing the margins; cut the fabric on the corners and glue them ... add some extra glue so the fabric doesn't come off. Leave them to dry a bit then put some tongs on them. Once the second cover has also been made, go back to the first one and glue the finishing sheet that will have to cover both the cardboard and some of the fabric.
Now you have to reopen the holes, first with a needle, then go over with a stick and the die again, then with scissors remove a few pieces of thread so the eyelets can enter easily.

Now put on the eyelets and tighten them with the eyelet. If you have the right color eyelets you can start sewing otherwise you can color them with enamel (for modeling) and let it dry very well (at least one night) before starting to sew. Align the holes of the sheets and covers well, then secure them all together with pliers; now you can start sewing. The Japanese binding technique is very easy, you can easily find a video on the net, I plan to write a specific article if and when I can ...

Now that the difficult thing is done, the simplest thing remains to attach the rhinestone adhesive theme, the instructions for the application can be found in this article or in this video. Final touch a satin bow attached with hot glue ... et Voilà!


Comments (0)